Homemade Vegan Snickers Bars (4 Ingredients!)
If you love the classic combination of chocolate and peanuts but want a plant-based, no-fuss alternative, these Homemade Vegan Snickers Bars are about to become your new obsession. They’re rich, chewy, chocolatey, and incredibly satisfying—yet made with just four simple ingredients and zero baking.
Store-bought candy bars can be delicious, but they often come with long ingredient lists, refined sugars, and additives you can’t pronounce. These homemade vegan Snickers-style bars strip things back to the essentials while still delivering that nostalgic flavor we all know and love.

Whether you’re vegan, dairy-free, or just looking for a healthier treat to keep in the fridge, this recipe checks all the boxes: easy, indulgent, and surprisingly wholesome.
Why You’ll Love These Vegan Snickers Bars
There’s something magical about a dessert that tastes decadent but takes minimal effort. These bars are:
- Completely vegan and dairy-free
- Made with only 4 ingredients
- No-bake and beginner-friendly
- Perfect for meal prep and freezer storage
- Naturally sweetened (depending on chocolate choice)
They’re ideal for satisfying sweet cravings without reaching for heavily processed candy.

The Inspiration Behind This Recipe
Classic Snickers bars are known for their layers: a soft base, a peanut-filled center, and a chocolate coating. While traditional versions rely on dairy and refined sugars, this homemade version recreates the experience using plant-based staples.
Instead of nougat and caramel, we use a combination of peanut butter, peanuts, and natural sweetener to create a chewy, rich center that feels just as indulgent. A simple chocolate coating ties everything together into a bar that tastes familiar yet refreshingly clean.
Ingredients
- Natural peanut butter (creamy, unsweetened)
- Roasted peanuts
- Maple syrup (or another liquid sweetener)
- Dairy-free chocolate chips
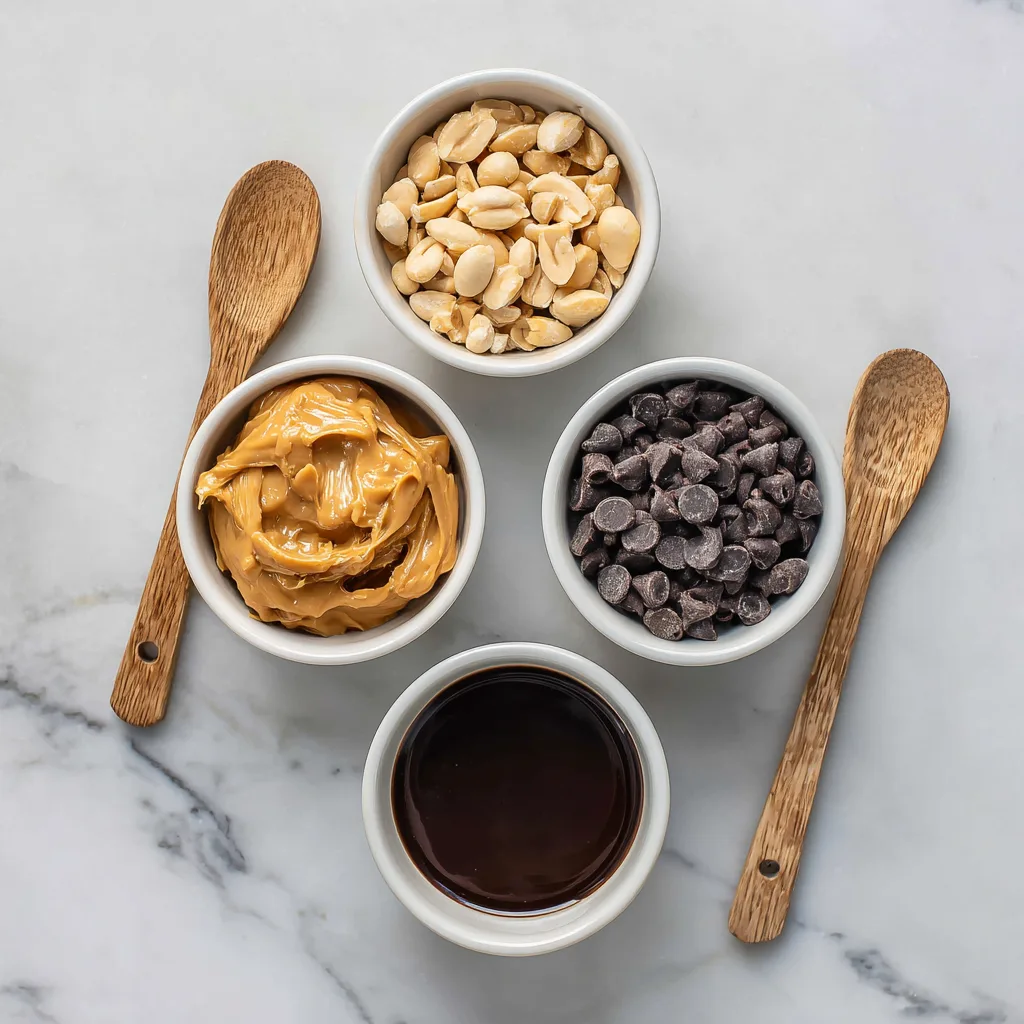
That’s it—four ingredients, endless satisfaction.
Instructions
- Line a small loaf pan or square dish with parchment paper.
- In a bowl, mix peanut butter and maple syrup until smooth and glossy.
- Fold in roasted peanuts, distributing them evenly.
- Press the mixture firmly into the prepared pan, smoothing the top.
- Melt the dairy-free chocolate chips until smooth.
- Pour melted chocolate over the peanut layer and spread evenly.
- Chill in the refrigerator for at least 1 hour, or until fully set.
- Remove from pan and slice into bars.
- Store chilled or frozen until ready to enjoy.
Homemade Vegan Snickers Bars (4 Ingredients!)
Ingredients
Equipment
Method
- Mix peanut butter and maple syrup until smooth.
- Fold in roasted peanuts.
- Press mixture into parchment-lined pan.
- Pour melted chocolate over the top.
- Chill until firm, then slice into bars.
Notes
Texture & Flavor: What to Expect
These vegan Snickers bars are rich and satisfying without being overly heavy. The base is soft and chewy, the peanuts add crunch and saltiness, and the chocolate coating delivers that classic snap when chilled.
The flavor balance is spot-on: sweet, salty, nutty, and chocolatey—all in one bite. Even non-vegans are usually shocked that these bars are homemade and dairy-free.
Tips for Perfect Vegan Snickers Bars
- Use natural peanut butter: Look for one with just peanuts and salt for best texture.
- Press firmly: Compacting the base helps the bars hold their shape.
- Chill thoroughly: This ensures clean slices and a firm bite.
- Sharp knife: Warm it slightly for smooth cuts through the chocolate layer.
Sweetness Level: Easy to Adjust
One of the best parts of making candy at home is controlling the sweetness. If you prefer less sweet bars, use dark dairy-free chocolate and reduce the maple syrup slightly. For a sweeter treat, milk-style vegan chocolate works beautifully.
You can also experiment with:
- Agave syrup instead of maple
- Date syrup for a deeper caramel flavor
- Lightly salted peanuts for extra contrast
Fun Variations to Try
Once you’ve made the classic version, try switching things up:
- Chocolate Peanut Butter Cups: Press mixture into mini muffin liners instead of bars.
- Crunchy Version: Add puffed rice or quinoa for extra texture.
- Protein Boost: Stir in a spoon of plant-based protein powder.
- Freezer Bars: Freeze and enjoy straight from the freezer for a firmer bite.
These variations keep the recipe exciting while staying simple.
How to Serve Vegan Snickers Bars
These bars are perfect for so many occasions:
- As a sweet afternoon snack
- Post-dinner dessert
- Prepped treats for the week
- A healthier candy option for gatherings
They pair beautifully with coffee, tea, or a cold glass of plant-based milk.
Storage & Make-Ahead Tips
Store bars in an airtight container in the refrigerator for up to 7 days. For longer storage, freeze them for up to 2 months. They thaw quickly and maintain their texture beautifully.
Keeping a batch in the freezer means you’ll always have a treat ready when cravings hit.
Why This Recipe Works
The natural oils in peanut butter bind the ingredients together, while maple syrup adds sweetness and chew. Peanuts bring crunch and saltiness, and the chocolate layer seals everything into a cohesive, candy-bar-style dessert.
It’s a perfect example of how simple ingredients can create something truly special.
Final Thoughts
These Homemade Vegan Snickers Bars (4 Ingredients!) prove that you don’t need complicated techniques or long ingredient lists to make an indulgent dessert. They’re easy, satisfying, and endlessly customizable—everything a homemade treat should be.
Once you try them, they’ll likely become a permanent fixture in your fridge or freezer.