Homemade Classic Chocolate Kit Kat Bars – Gluten-Free & Delicious
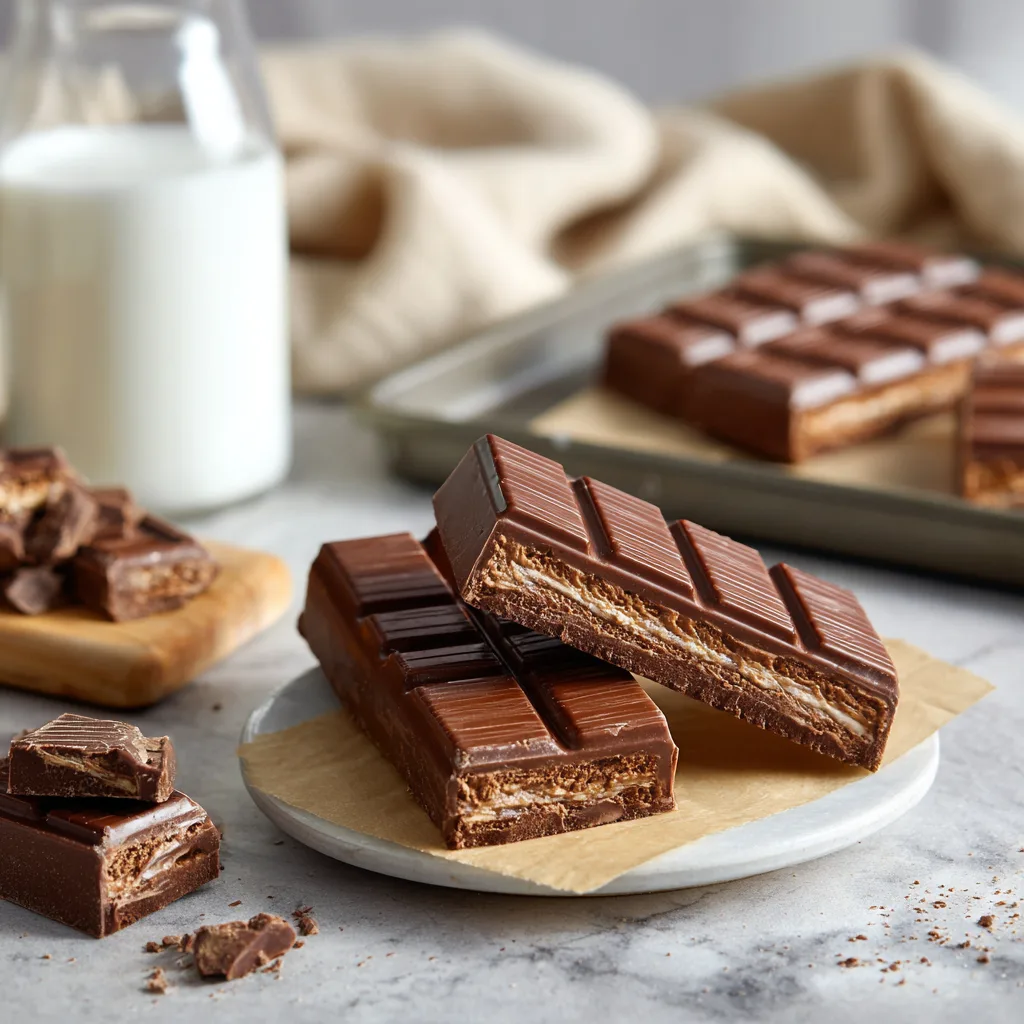
There’s something undeniably satisfying about snapping a chocolate wafer bar in half. That crisp break, the delicate crunch, the creamy chocolate melting on your tongue — it’s a nostalgic moment many of us remember from childhood. But if you follow a gluten-free diet, traditional wafer bars are often off-limits.
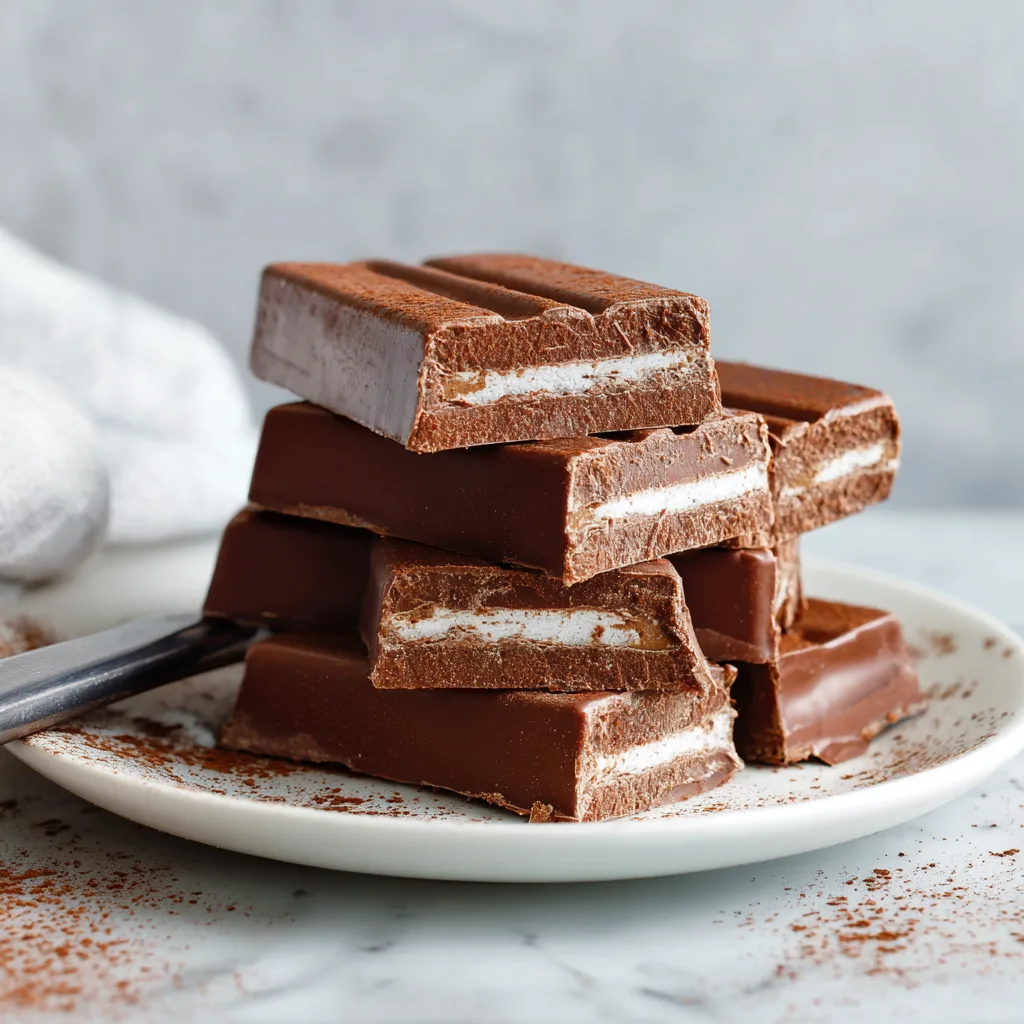
That’s exactly why these Homemade Classic Chocolate Kit Kat Bars – Gluten-Free & Delicious are such a game changer. They capture everything you love about the iconic chocolate wafer treat — crisp layers, smooth chocolate coating, and that signature snap — but without any gluten.
This copycat kit kat recipe is surprisingly simple to make, requires no baking, and uses easy-to-find ingredients. Whether you’re gluten intolerant, cooking for someone who is, or just love a good homemade candy bar, this recipe will quickly become a favorite.
Why Make Gluten Free Kit Kat Bars at Home?
Store-bought gluten free chocolate candy bars can be expensive and sometimes hard to find. Even when available, they may lack that perfect crisp wafer texture.
Making them at home means:
- Full control over ingredients
- No artificial additives
- Perfectly crisp texture
- Customizable chocolate options
- Fresh, rich flavor
And honestly? There’s something magical about recreating a classic candy bar in your own kitchen.
The Secret to Gluten-Free Crisp Layers
Traditional wafer cookies rely on wheat flour for their structure. In this homemade version, we recreate the crunch using gluten-free wafer sheets or crisp rice layers combined with a light chocolate filling that mimics the classic creamy interior.
The key is layering thin, crisp sheets with a slightly sweet chocolate filling, then chilling until firm before coating in melted chocolate. The result is a beautifully layered bar with a satisfying snap.
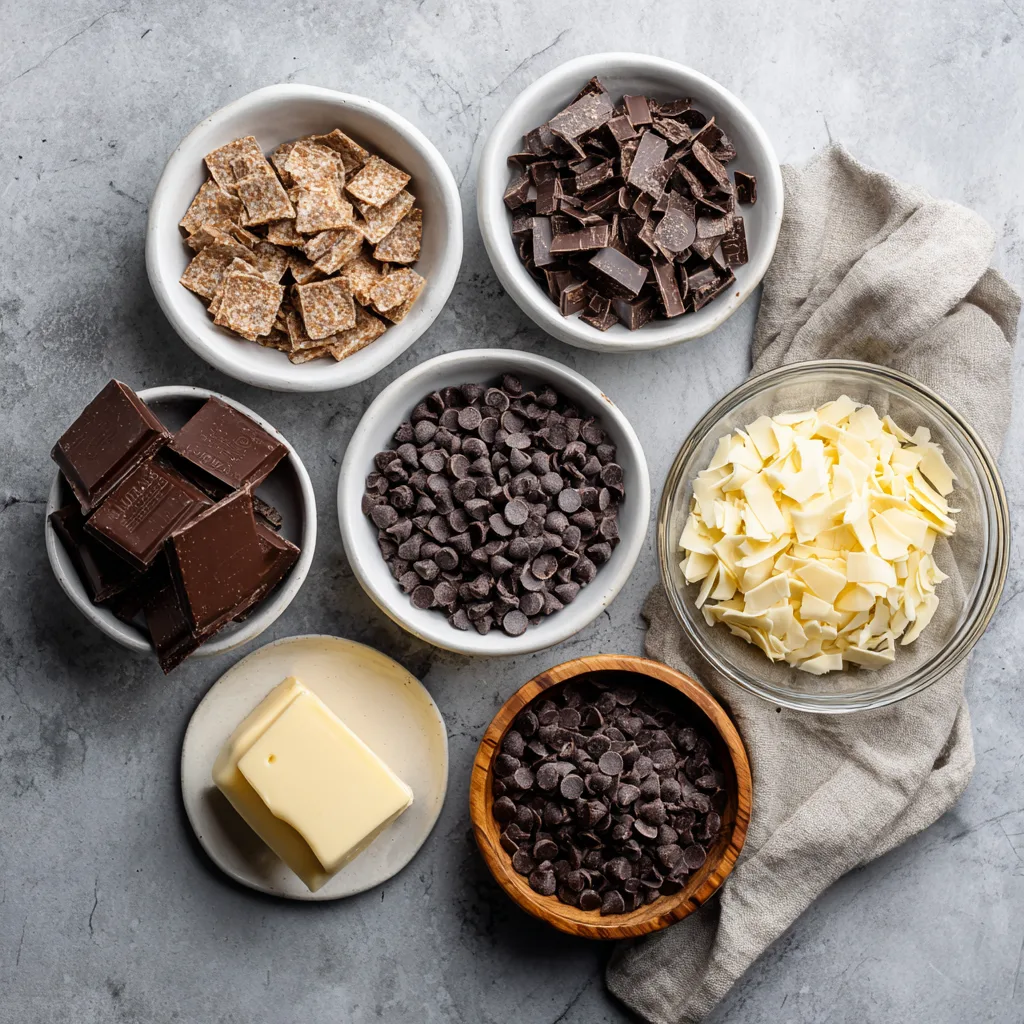
Ingredients
- 8 gluten-free wafer sheets or crisp rice sheets
- 1 cup milk chocolate chips (for coating)
- ½ cup dark chocolate chips (for coating depth)
- 2 tablespoons unsalted butter
- ¾ cup chocolate hazelnut spread or chocolate frosting
- ½ cup powdered sugar
- ½ teaspoon vanilla extract
- 1 tablespoon coconut oil (optional, for smoother coating)
Instructions
- Line an 8×8-inch pan with parchment paper, leaving some overhang for easy removal.
- In a mixing bowl, combine chocolate hazelnut spread, powdered sugar, softened butter, and vanilla extract. Stir until smooth and slightly thickened.
- Place one gluten-free wafer sheet in the prepared pan. Spread a thin, even layer of the chocolate filling over it.
- Add another wafer sheet on top and gently press down. Repeat layering and spreading until all wafer sheets are stacked (usually 4–6 layers depending on thickness). Finish with a wafer layer on top.
- Place the layered stack in the refrigerator for at least 30 minutes to firm up.
- Once chilled, lift the stack from the pan and cut into rectangular bars.
- Melt milk chocolate and dark chocolate together in a heat-safe bowl using 20-second intervals in the microwave, stirring between each. Add coconut oil if using for extra shine and smoothness.
- Dip each bar into the melted chocolate, coating fully. Use a fork to lift and allow excess chocolate to drip off.
- Place coated bars on a parchment-lined tray and refrigerate until the chocolate sets completely, about 30–45 minutes.
- Once firm, trim edges if desired for clean lines and serve.
Homemade Classic Chocolate Kit Kat Bars – Gluten-Free & Delicious
Ingredients
Equipment
Method
- Line pan with parchment paper.
- Mix chocolate spread, powdered sugar, butter, and vanilla until smooth.
- Layer wafers with thin filling between each layer.
- Chill 30 minutes until firm.
- Cut into bars.
- Melt chocolates and coconut oil.
- Dip bars to coat completely.
- Chill 30–45 minutes until set.
Notes
Tips for Perfect Chocolate Wafer Bars
Keep Layers Thin: The thinner the chocolate filling between wafers, the more authentic the crunch.
Chill Before Cutting: This prevents layers from sliding apart.
Temper Chocolate for Shine: If you want glossy, professional-looking bars, temper your chocolate instead of simply melting it.
Use Quality Chocolate: Since chocolate is the star of the show, choose a high-quality brand for the best flavor.
Flavor Variations
One of the joys of making homemade chocolate wafer bars is customization.
Dark Chocolate Lovers
Use all dark chocolate for coating and add a pinch of espresso powder to the filling.
White Chocolate Version
Replace milk chocolate coating with white chocolate for a sweeter twist.
Peanut Butter Crunch
Swap chocolate hazelnut spread for peanut butter and add crushed peanuts between layers.
Vegan Option
Use dairy-free chocolate chips, vegan butter, and dairy-free chocolate spread for a completely plant-based treat.
Storage & Shelf Life
Store your gluten free kit kat bars in an airtight container in the refrigerator for up to two weeks. For longer storage, freeze them for up to two months.
If frozen, allow them to sit at room temperature for a few minutes before eating for the best texture.
Serving Ideas
These homemade candy bars are perfect for:
- Birthday party dessert tables
- Holiday cookie platters
- Edible gifts
- Afternoon coffee breaks
- Movie night treats
You can even chop them and sprinkle over ice cream for a crunchy topping.
Why This Copycat Kit Kat Recipe Works
The combination of crisp gluten-free wafers and smooth chocolate filling creates that signature layered effect. Chilling ensures clean cuts, while the chocolate coating seals everything together for the perfect snap.
The result is a no bake gluten free candy that tastes indulgent yet feels special because you made it yourself.
Final Thoughts
Recreating a beloved classic in a gluten-free version can feel intimidating — but this recipe proves it doesn’t have to be. These Homemade Classic Chocolate Kit Kat Bars – Gluten-Free & Delicious are crisp, chocolatey, and deeply satisfying.
They’re perfect for anyone who misses the classic wafer bar experience but needs a gluten-free alternative. And once you taste the rich chocolate and delicate crunch of these homemade bars, you might never go back to store-bought again.
Snap, share, and enjoy every chocolatey layer.