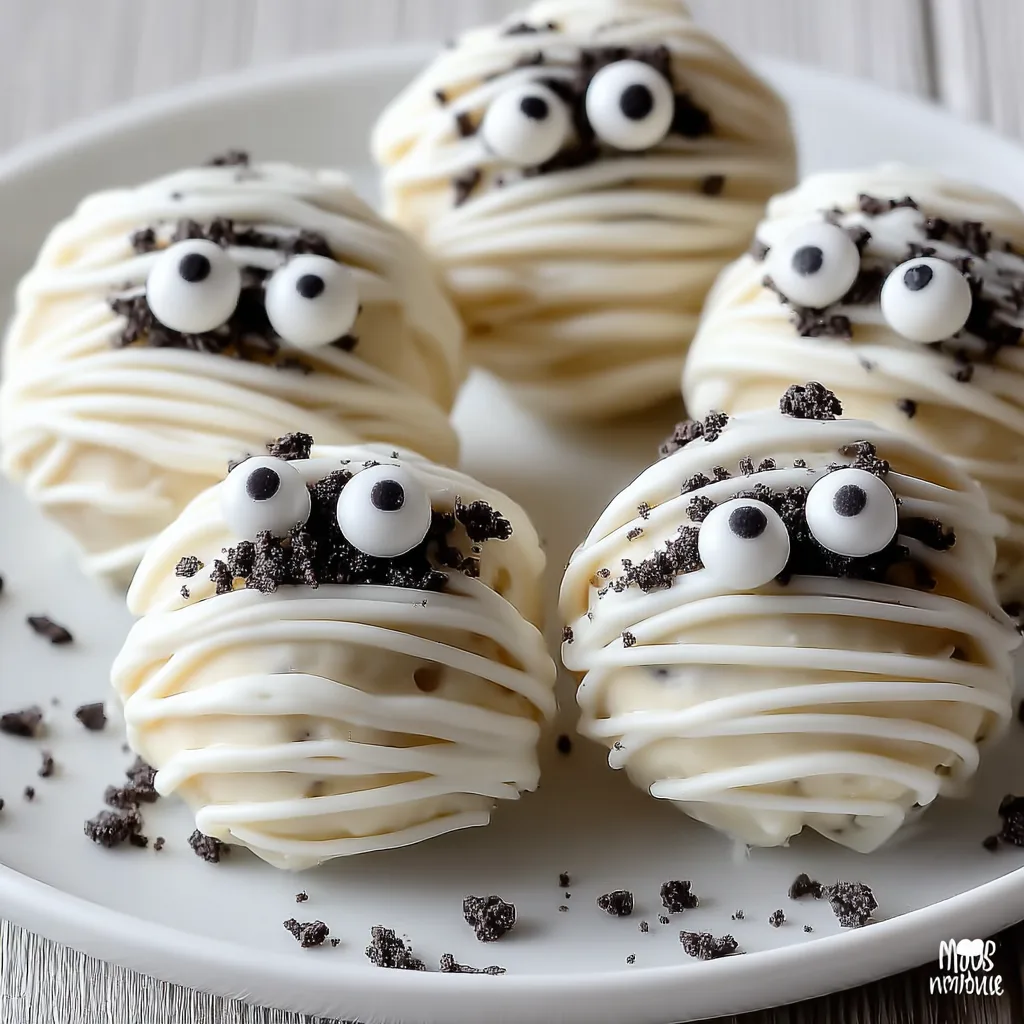
Mummy Oreo Balls Delight 🎃
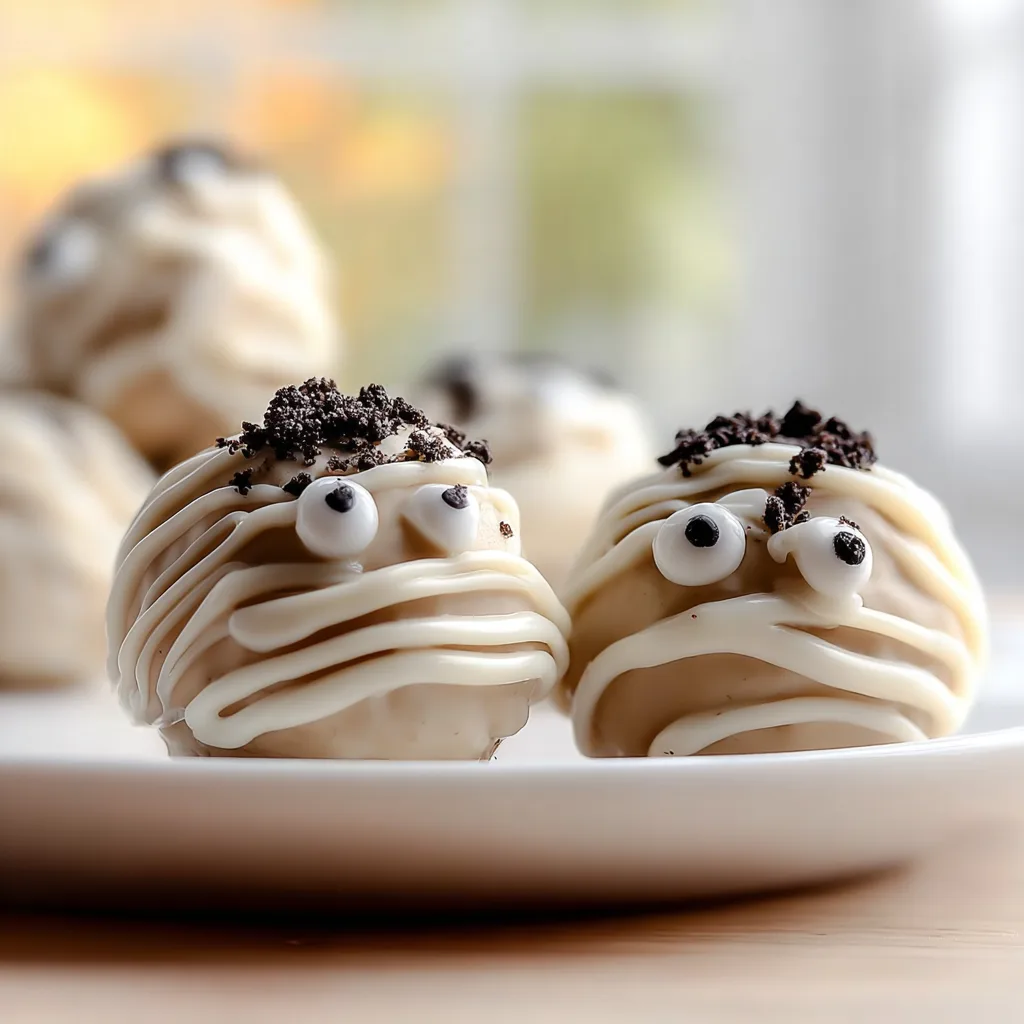
Halloween is the season where desserts get a spooky little makeover, and these Mummy Oreo Balls Delight are the star of the show. They’re playful, fun, and incredibly easy to whip up, even if you’re short on time before a costume party or trick-or-treat gathering. Think of them as the perfect balance between cute and creepy – wrapped in white chocolate “bandages” with big googly candy eyes peeking out.
What makes this treat even more delightful is that it requires no baking at all. With just a few pantry staples – Oreos, cream cheese, and white chocolate – you can create a platter of spooky sweets that will have everyone giggling before they even take a bite.
Let’s dive into the cozy kitchen storytelling, because making these mummy treats feels like stepping into a Halloween craft project that just happens to end in dessert. I still remember when I first tried these: I had a big bowl of crushed Oreos, cream cheese that was soft from sitting out on the counter, and a microwave-safe bowl of melting white chocolate. My kids were circling the kitchen island, waiting for me to say “you can add the eyes now!” Decorating them together became our new October tradition.
They’re sweet, rich, and just the right size to pop in your mouth while telling ghost stories or sipping hot cider. Plus, because they’re no-bake, you can even prepare them a day or two ahead of your Halloween festivities.
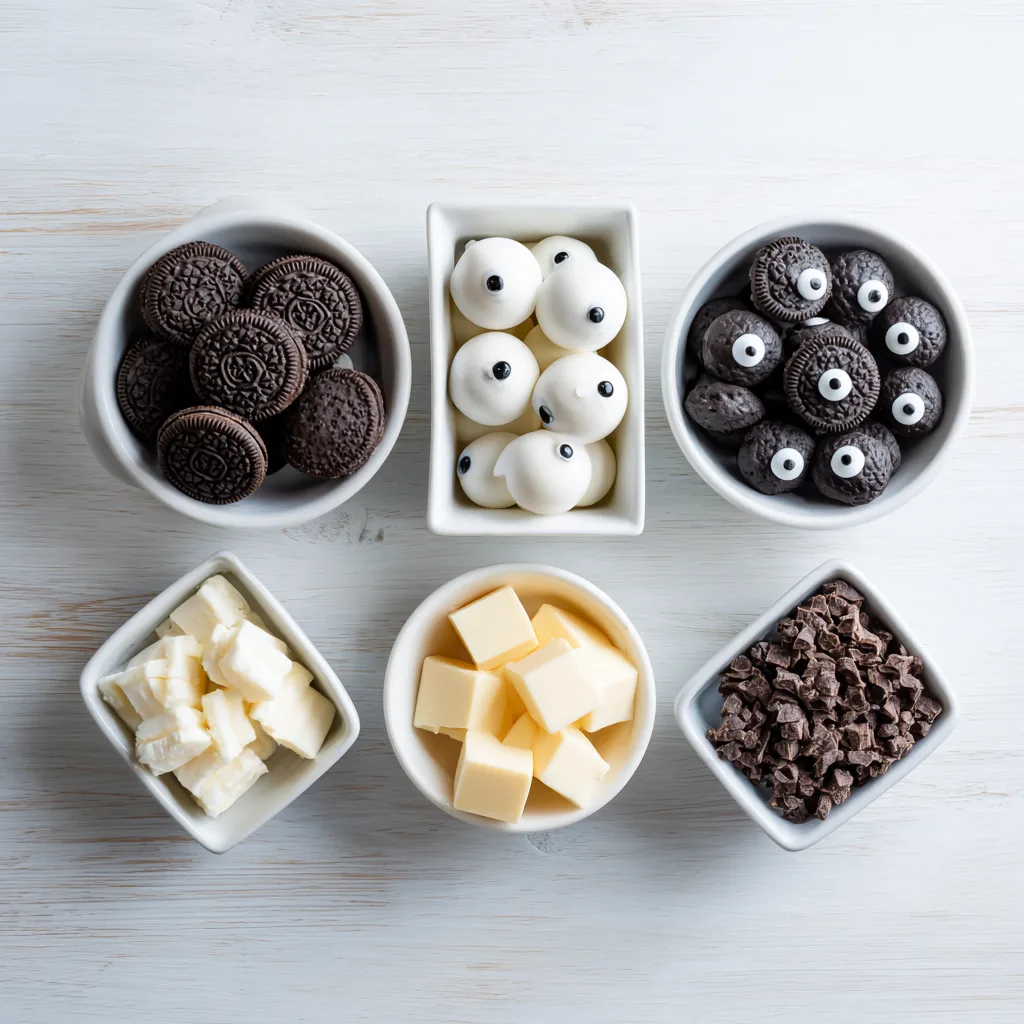
Ingredients
- 36 Oreo cookies (regular, not double-stuffed)
- 8 oz cream cheese, softened
- 16 oz white chocolate (chips or baking bars)
- Candy eyes (about 36–40 pieces)
- 2 tablespoons Oreo crumbs (optional, for garnish)
Instructions
- Crush the Oreos: Place cookies in a food processor and pulse until fine crumbs form. Alternatively, crush in a zip-top bag with a rolling pin.
- Mix with cream cheese: In a large mixing bowl, combine Oreo crumbs with softened cream cheese until smooth and dough-like.
- Form balls: Roll mixture into 1-inch balls and place on a baking sheet lined with parchment paper. Freeze for 15–20 minutes until firm.
- Melt chocolate: In a microwave-safe bowl, melt the white chocolate in 30-second increments, stirring until smooth.
- Coat the balls: Dip each Oreo ball into the melted chocolate, coating evenly. Place back on parchment paper.
- Add eyes: Before the coating sets, gently press two candy eyes onto each ball.
- Create mummy bandages: Drizzle extra melted white chocolate across each ball using a piping bag or spoon, giving the effect of mummy “wrapping.”
- Optional garnish: Sprinkle with crushed Oreo crumbs for a spooky dusted effect.
- Chill & serve: Refrigerate for at least 20 minutes to set. Serve chilled for the best texture.
Mummy Oreo Balls Delight
Ingredients
Equipment
Method
- Crush Oreos into fine crumbs using a food processor or bag and rolling pin.
- Mix Oreo crumbs with softened cream cheese until smooth.
- Roll into 1-inch balls and place on parchment-lined baking sheet. Freeze until firm.
- Melt white chocolate until smooth.
- Dip Oreo balls in chocolate, coating evenly, then place back on parchment.
- Press two candy eyes onto each ball before chocolate sets.
- Drizzle extra melted white chocolate across to create mummy bandages.
- Optional: sprinkle Oreo crumbs for garnish. Chill before serving.
Notes
Cozy Notes & Tips
- Make ahead: These can be stored in an airtight container in the fridge for up to 5 days.
- Freezer-friendly: Freeze them (before adding the candy eyes) for up to 2 months. Thaw, decorate, and serve.
- Creative twist: Swap white chocolate for dark chocolate to make “ghost truffles” instead of mummies.
- Kid-friendly: Kids love decorating the eyes and drizzling chocolate—it’s messy fun!