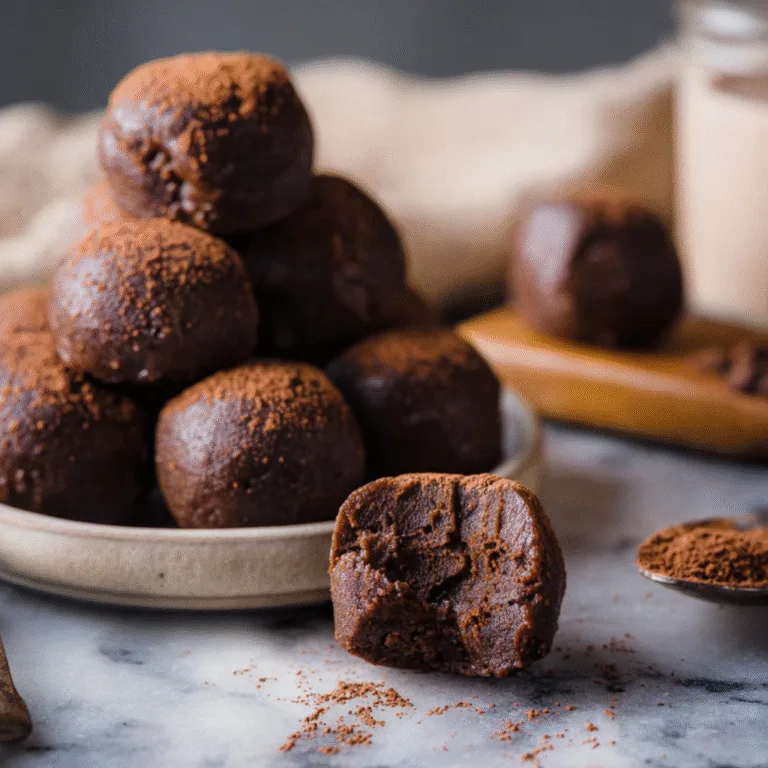
Soft Whoopie Pies with Marshmallow Filling – A Classic Treat with a Fluffy Twist
There’s something magical about desserts that come in pairs. Maybe it’s the idea of holding two little cakes pressed together with a sweet, creamy center, or maybe it’s because sharing them always feels more fun. Whoopie pies are a treat that manages to be both nostalgic and whimsical. Each bite is a combination of soft chocolate cake and pillowy marshmallow filling that practically melts in your mouth.
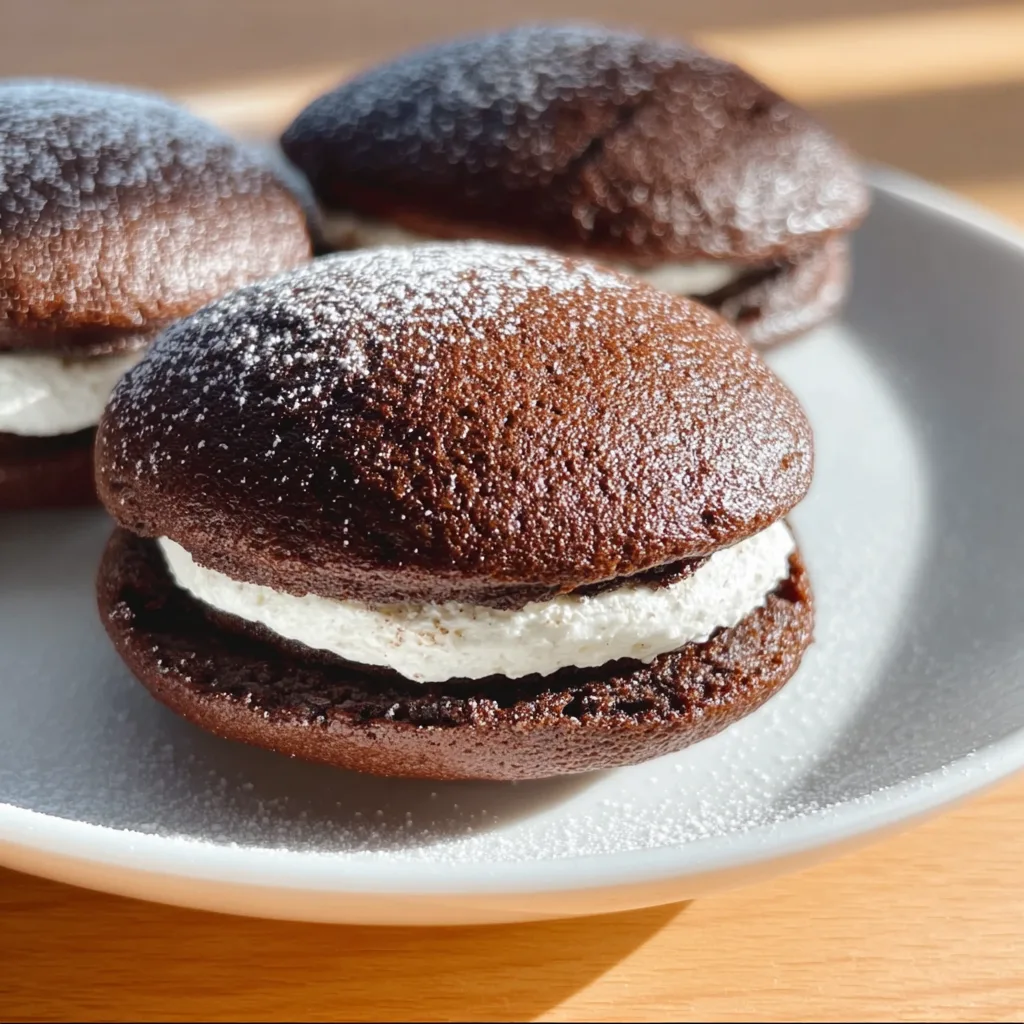
I still remember the first time I tried a whoopie pie. My grandmother had picked them up from a tiny roadside bakery during a summer trip to Pennsylvania. As a kid, I thought they were the biggest “cookies” I’d ever seen. When I bit into that first one, the marshmallow filling stuck to my fingers and I didn’t even care — it was love at first bite. That’s the joy of homemade whoopie pies: they feel playful, a little messy, and a lot delicious.
Making them at home lets you create that same magic in your own kitchen. The aroma of cocoa wafts from the oven as the cake-like rounds bake. The marshmallow filling whips up into something fluffy, creamy, and sweet without being overpowering. And the best part? These pies store beautifully, making them perfect for lunchbox surprises, bake sales, or simply keeping a stash for yourself when the craving strikes.
Ingredients:
For the Chocolate Cakes:
- 2 cups all-purpose flour
- 1/2 cup unsweetened cocoa powder
- 1 teaspoon baking powder
- 1/2 teaspoon baking soda
- 1/2 teaspoon salt
- 1 cup granulated sugar
- 1/2 cup unsalted butter, softened
- 1 large egg
- 1 teaspoon vanilla extract
- 1 cup buttermilk
For the Marshmallow Filling:
- 1 cup marshmallow creme
- 1/2 cup unsalted butter, softened
- 1 cup powdered sugar
- 1 teaspoon vanilla extract

Instructions:
- Prepare the baking sheets: Preheat your oven to 350°F (175°C). Line two baking sheets with parchment paper.
- Mix dry ingredients: In a medium bowl, whisk together the flour, cocoa powder, baking powder, baking soda, and salt. Set aside.
- Cream butter and sugar: In a large bowl, beat the softened butter and granulated sugar with a hand mixer or stand mixer until light and fluffy.
- Add egg and vanilla: Beat in the egg and vanilla extract until smooth.
- Alternate dry and wet: Add the flour mixture to the butter mixture in three parts, alternating with the buttermilk. Begin and end with the dry ingredients. Mix just until combined — do not overbeat.
- Scoop batter: Using a tablespoon or small cookie scoop, drop rounds of batter onto the prepared baking sheets, spacing them about 2 inches apart.
- Bake: Bake for 10–12 minutes, or until the tops spring back lightly when touched. Do not overbake — they should stay soft.
- Cool: Let the cakes cool on the baking sheet for 5 minutes before transferring to a wire rack to cool completely.
- Make the filling: In a medium bowl, beat butter until creamy. Add powdered sugar, marshmallow creme, and vanilla, then beat until fluffy.
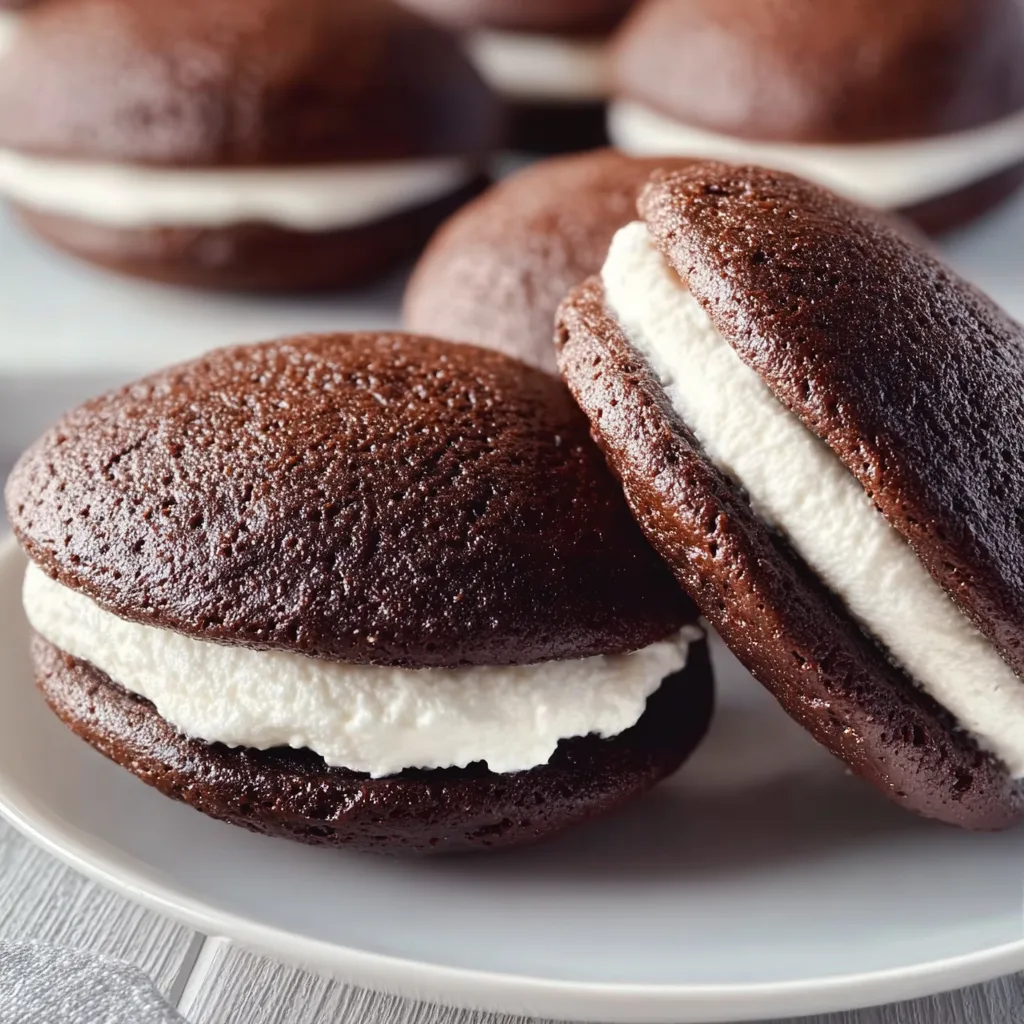
- Assemble: Spread a generous layer of filling on the flat side of one cooled cake, then sandwich it with another. Repeat until all pies are assembled.
Soft Whoopie Pies with Marshmallow Filling
Ingredients
Equipment
Method
- Preheat oven to 350°F (175°C). Line baking sheets with parchment paper.
- In a medium bowl, whisk together flour, cocoa, baking powder, baking soda, and salt.
- In a large bowl, cream butter and sugar until light and fluffy. Beat in egg and vanilla.
- Alternate adding dry ingredients and buttermilk to the butter mixture, beginning and ending with dry ingredients. Mix until combined.
- Scoop batter onto prepared sheets, spacing 2 inches apart. Bake 10–12 minutes until set.
- Cool completely on wire racks before filling.
- For the filling: beat butter until creamy, then add powdered sugar, marshmallow creme, and vanilla. Beat until fluffy.
- Spread filling on flat side of one cookie, top with another cookie to form a sandwich.
Notes
Tips & Tricks:
- For perfectly even cakes, use a cookie scoop to portion the batter.
- Don’t overmix your batter; it keeps the cakes tender.
- For extra flavor, add a pinch of espresso powder to the cocoa mixture.
Variations:
- Pumpkin Spice Whoopie Pies: Replace cocoa with pumpkin puree and spices for a fall twist.
- Peppermint Marshmallow Filling: Add crushed candy canes or peppermint extract to the filling for holiday cheer.
- Peanut Butter Filling: Mix peanut butter into the marshmallow filling for a sweet-salty combo.
Serving Suggestions:
Serve these pies with a cold glass of milk, pack them in school lunches, or place them on a pretty cake stand for a party. They’re also lovely with hot coffee after dinner.
Storage Information:
- Store in an airtight container at room temperature for up to 3 days.
- Refrigerate for up to a week.
- Freeze individually wrapped pies for up to 2 months — just thaw before serving.
FAQ:
Q: Can I make these ahead of time?
A: Yes! You can bake the cakes a day ahead, then fill them when ready.
Q: Can I use marshmallows instead of marshmallow creme?
A: Not recommended — the creme gives the filling its fluffy, spreadable consistency.
Q: My pies turned out flat. Why?
A: Overmixing the batter or not using fresh baking powder/baking soda can cause spreading.
History / Fun Facts:
Whoopie pies have deep roots in American baking, especially in Pennsylvania Amish country. Legend has it that farmers’ wives would pack these soft cake sandwiches in lunch pails, and when the farmers discovered them, they’d shout “Whoopie!” — hence the name. Some regions call them “gobs,” while others debate whether they’re cookies, cakes, or pies. Regardless of their category, they’ve stood the test of time as a beloved homemade dessert.
Baking a batch today connects you with that history while creating your own sweet memories. Whether it’s kids sneaking one before dinner or friends grabbing them off the dessert table, whoopie pies always bring smiles.