The Best Garlic Bread Rolls – Buttery, Soft, and Irresistible
There are few things more comforting than warm, buttery garlic bread — except when it’s soft, fluffy, and baked into golden rolls that practically melt in your mouth. These Garlic Bread Rolls are the ultimate side dish for pasta dinners, soups, or even just snacking straight from the pan. They’re the kind of rolls that disappear faster than you can say “save me one!”

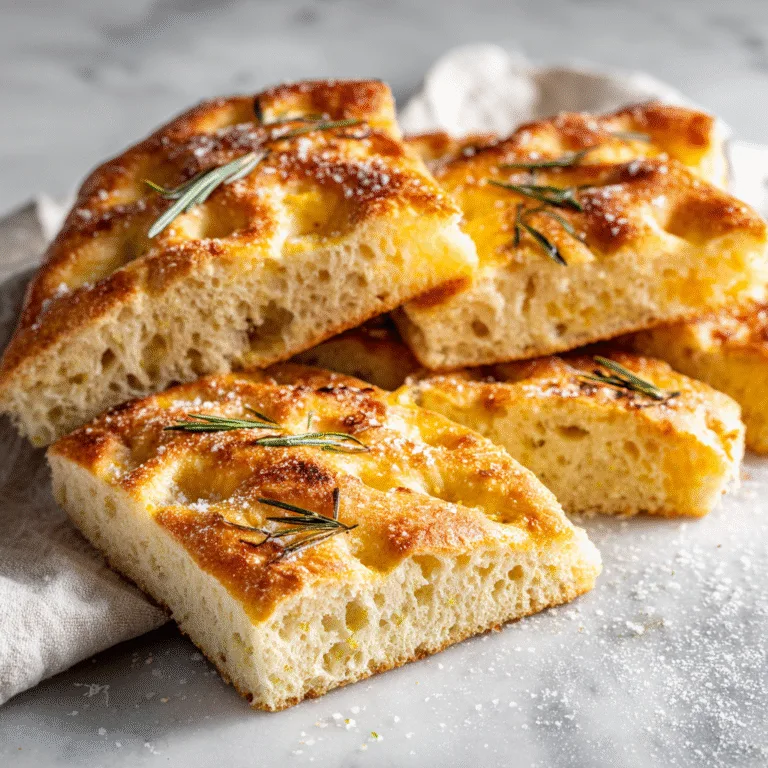
Picture this: you pull a tray of golden, glossy rolls from the oven, and the smell of fresh garlic and butter fills the kitchen. You brush them one last time with melted butter, watching it sink into the warm crust, and sprinkle on a final pinch of parsley and salt. The inside is pillowy soft, the top glistens, and the flavor — pure garlicky heaven.
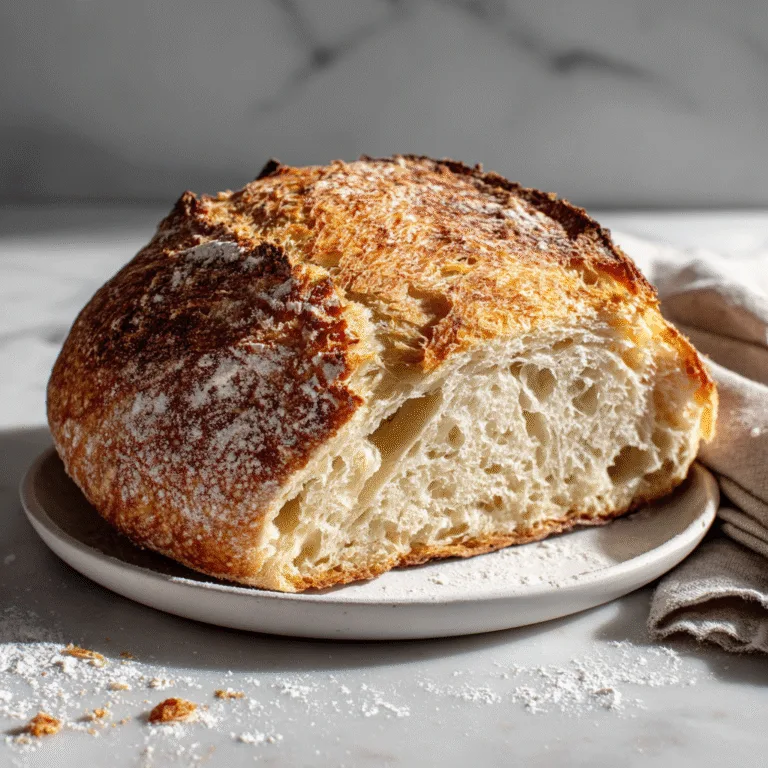
This recipe is simple, reliable, and totally addictive. You’ll start with a basic yeast dough, let it rise until airy and tender, then brush it with a homemade garlic butter that’s rich and aromatic. The result is a batch of rolls that are crisp on the outside, soft in the middle, and infused with buttery garlic goodness in every bite.

Let’s roll up our sleeves and bake the best garlic bread rolls you’ve ever tasted.
Ingredients:
- 4 cups all-purpose flour
- 2 ¼ teaspoons (1 packet) active dry yeast
- 1 cup warm milk (about 110°F / 43°C)
- ¼ cup granulated sugar
- ⅓ cup unsalted butter, melted
- 1 large egg
- 1 teaspoon salt
For Garlic Butter Topping:
- ¼ cup unsalted butter, melted
- 4 cloves garlic, finely minced
- 2 tablespoons chopped fresh parsley (or 1 teaspoon dried)
- Pinch of salt
- Optional: grated Parmesan for garnish

Instructions:
- Activate the Yeast: Combine warm milk, sugar, and yeast in a small bowl. Let it sit for 5–10 minutes, until the mixture is foamy and fragrant.
- Mix Wet Ingredients: In a large mixing bowl, whisk together the melted butter and egg. Add the yeast mixture once bubbly.
- Form the Dough: Add the flour and salt gradually, stirring until a soft dough forms. It should be slightly tacky but not sticky.
- Knead the Dough: Transfer the dough to a floured surface and knead for 8–10 minutes until smooth and elastic.
- First Rise: Place dough in a greased bowl, cover, and let rise in a warm place for about 1–1½ hours, until doubled in size.
- Shape the Rolls: Punch down the dough gently and divide into 12–15 equal pieces. Roll each into a ball and arrange in a greased 9×13-inch baking pan.
- Second Rise: Cover and let the rolls rise again for 30–45 minutes, until puffy and touching each other.
- Preheat the Oven: Set the oven to 375°F (190°C).
- Prepare Garlic Butter: While the rolls rise, melt butter in a saucepan. Add minced garlic and cook over low heat for 1–2 minutes until fragrant. Stir in parsley and salt.
- Brush and Bake: Brush half of the garlic butter over the rolls before baking. Bake for 18–20 minutes, or until golden brown on top.
- Final Touch: Brush the remaining garlic butter over the hot rolls right out of the oven. Sprinkle with Parmesan if desired. Serve warm.
The Best Garlic Bread Rolls
Ingredients
Equipment
Method
- Combine warm milk, sugar, and yeast. Let stand until foamy.
- Whisk melted butter and egg, then add yeast mixture.
- Add flour and salt to form a soft dough.
- Knead for 8–10 minutes until smooth.
- Let rise 1–1½ hours until doubled.
- Shape into 12–15 balls and arrange in greased pan.
- Let rise 30–45 minutes until puffy.
- Mix garlic butter and brush over rolls before baking.
- Bake at 375°F (190°C) for 18–20 minutes until golden.
- Brush again with garlic butter and sprinkle with Parmesan.
Notes
Tips & Tricks
- Use Fresh Garlic: Freshly minced garlic has a deeper, more aromatic flavor than jarred.
- Extra Buttery Flavor: Add a tablespoon of olive oil to the butter for a richer coating.
- Crispy Top Option: Broil the rolls for 1–2 minutes after baking for a slightly crisp, golden crust.
- Make-Ahead Tip: Shape the rolls and refrigerate overnight; bake the next day for fresh morning rolls.
Variations
- Cheesy Garlic Rolls: Add mozzarella or cheddar inside each roll for a gooey surprise.
- Herb Lovers: Add rosemary, thyme, or basil to the butter for extra flavor depth.
- Spicy Version: Mix red pepper flakes into the garlic butter for a subtle kick.
- Whole Wheat: Replace half the flour with whole wheat flour for a nutty, wholesome taste.
Serving Suggestions
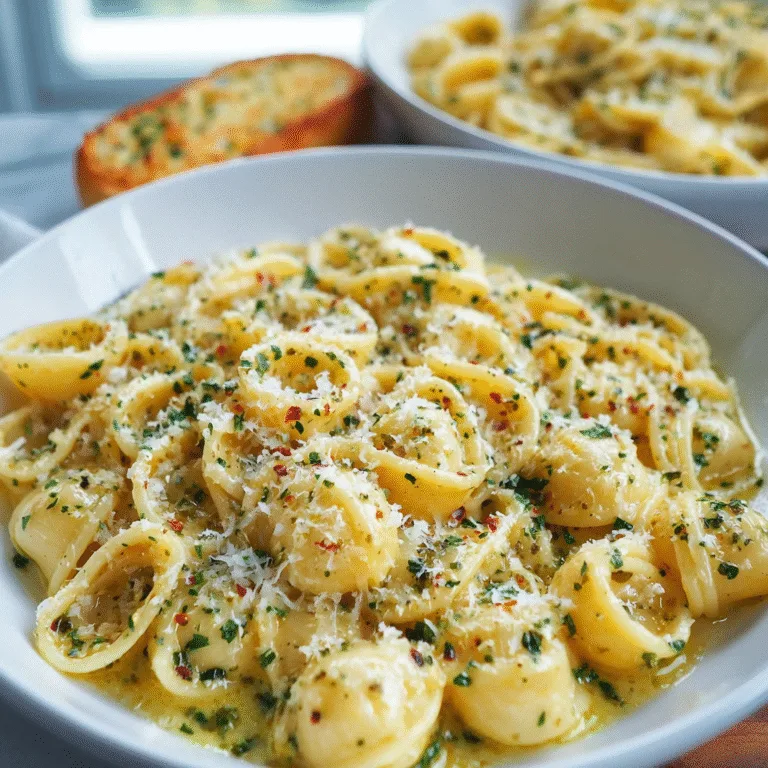
These rolls are perfect alongside spaghetti, lasagna, soups, or grilled meats. They also make an incredible base for sliders — try stuffing them with meatballs or pulled chicken for a fun twist. Serve them warm with extra garlic butter on the side for dipping.
Storage Information
Keep leftover rolls in an airtight container at room temperature for up to 3 days. To reheat, wrap in foil and warm in a 300°F (150°C) oven for 8–10 minutes. For longer storage, freeze up to 2 months and reheat directly from frozen.
FAQ
Can I use instant yeast?
Yes! Just skip the proofing step and mix instant yeast directly with the dry ingredients.
How do I make them extra garlicky?
Double the garlic butter and brush again after baking — the flavor intensifies beautifully.
Can I use salted butter?
Yes, but reduce or omit the added salt in the recipe.
History / Fun Facts
Garlic bread’s roots trace back to Italy, where bruschetta was first made by rubbing toasted bread with garlic and drizzling it with olive oil. Over time, Italian immigrants in America transformed that simple idea into buttery, oven-baked garlic bread — and later, garlic rolls. The soft, yeasted version became especially popular in home kitchens, offering the perfect blend of pillowy texture and savory richness.
The beauty of garlic rolls is in their versatility — a comfort food that bridges cultures, holidays, and weeknights alike. Whether you serve them at a fancy dinner or enjoy them straight off the tray, one thing’s certain: nobody can stop at just one.